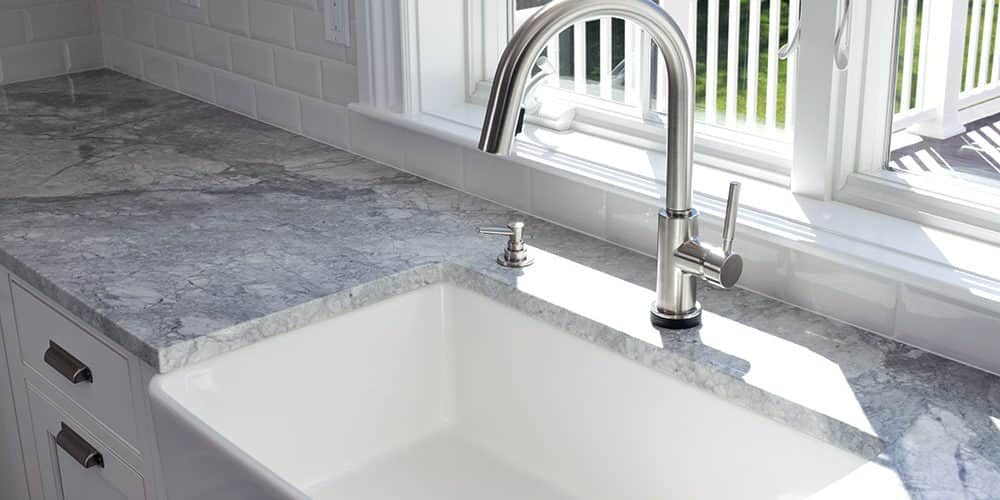
Changing a kitchen tap may seem daunting, but with the right tools and guidance, it can be a straightforward task. Here is a step-by-step guide on how to change a kitchen tap.
Gather your tools
Before you start, ensure you have all the necessary tools to hand. This includes:
- A new kitchen tap
- Adjustable wrench
- Basin wrench
- Screwdriver
- Plumber’s tape
- Silicone sealant
- Towels or cloths
Before you start dismantling your old kitchen tap, make sure you turn off the water supply. This can be done by turning off the isolation valve under the sink. If you cannot locate the isolation valve, then turn off the main water supply.
Remove the old tap
Once the water supply is turned off, you can start removing the old tap. Begin by removing any fixings or screws that are holding the tap in place. Next, disconnect the water supply pipes from the bottom of the tap using an adjustable wrench.
Once the tap is disconnected, remove it from the sink. You may need to use a basin wrench to loosen and remove any nuts or fixings that are holding the tap in place.
Clean the sink
Before installing the new tap, clean the sink to remove any dirt, debris, or old silicone sealant. Use a cloth or towel to wipe down the area where the new tap will be installed.
Install the new tap
Install the new tap by following the manufacturer’s instructions. Begin by inserting the tap into the hole in the sink. Secure the tap in place using any fixings or nuts that were included with the tap.
Next, attach the water supply pipes to the bottom of the new tap using an adjustable wrench. Make sure the connections are tight to avoid any leaks.
Apply plumber’s tape
Apply plumber’s tape to the threads on the water supply pipes. This will help to create a tight seal and prevent any leaks.
Attach the aerator
The aerator is the small mesh screen that screws onto the end of the tap. Make sure this is installed correctly to avoid any issues with water flow.
Apply silicone sealant
Once the new tap is securely in place, apply silicone sealant around the base of the tap to prevent any water from leaking into the sink or cupboard below.
Test the new tap
Once the silicone sealant has dried, turn on the water supply and test the new tap for any leaks or issues with water flow. If everything looks good, then congratulations! You have successfully changed your kitchen tap.
Changing a kitchen tap – The key points
Changing a kitchen tap can seem daunting, but with the right tools and guidance, it can be a simple task. Remember to turn off the water supply before starting, remove the old tap, clean the sink, install the new tap following the manufacturer’s instructions, and test for any leaks.
If you encounter any issues or are unsure about any steps in the process, do not hesitate to contact us. Our team of professional plumbers is always available to offer advice and assistance with any plumbing-related issue. We’ll address any issues efficiently, saving you time and money in the long run.


